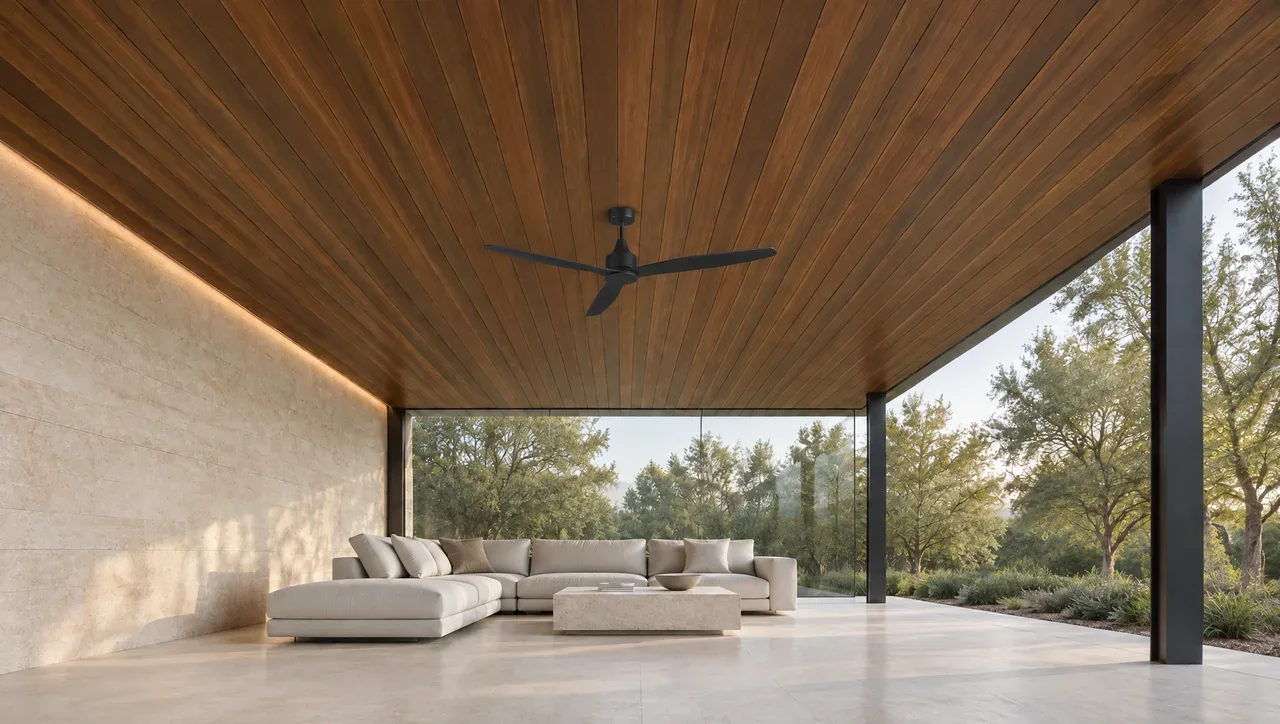
Map every interruption
List fixture locations, box depths, trim interfaces and service access. Resolve which trades provide blocking, boxes and final trim. Photograph the approved support locations before the finish closes the view.
Keep support responsibilities clear
Obtain the fixture’s environmental rating and installation instructions. The ceiling profile supplier’s approval does not automatically approve electrical equipment. Keep the decorative material schedule separate from the fixture support schedule.
Put equipment on the ceiling plan early
A fan, recessed light or access panel interrupts the wood pattern and introduces requirements that belong to the equipment and electrical installation. Locate these items before ordering final lengths or cutting boards. Include controls, junction boxes and service locations that may be less visible than the fixture itself.
A decorative wood ceiling is not automatically a support for a fan or other equipment. The equipment must have its specified support and attachment. Obtain the relevant installation instructions and coordinate the support above the finish before closing the ceiling. Leave electrical design and installation to the qualified party responsible for that work.
Resolve three separate spaces
Each item has a visible footprint, a concealed installation space and a service space. A light's trim may fit between boards while its housing conflicts with framing above. A fan may look centered in a rendering while its blades or service access conflict with a beam. Those are different checks.
| Space | What to coordinate |
|---|---|
| Visible face | Trim, board joints, finish edge and alignment |
| Concealed installation | Housing, support, wiring and required clearances |
| Service access | Removal direction, tool access and replaceable parts |
Read the selected fixture's requirements for the actual location and exposure. Do not transfer a rating from a visually similar indoor product. Similarly, a manufacturer's permitted contact or clearance condition for one light should not be generalized to all recessed lighting.
Make openings replaceable
Record the approved cutout size and the permitted method of finishing its edge. Avoid cutting from an early catalog image if the supplied fixture has changed. Check that the trim covers the intended opening without hiding a damaged or poorly supported board edge.
Think through replacement. If a future electrician must remove a whole run of tongue-and-groove boards to reach a serviceable item, the access strategy deserves another look. A planned panel or removable section can be integrated into the board pattern; a hole cut later is much harder to make deliberate.
Review the ceiling with the lights operating. Directional and grazing light can emphasize grain, finish variation and joint alignment differently from daylight. A small completed sample around the actual trim gives more useful information than a loose board under workshop lighting.
The handover should include fixture identifiers, current instructions, support locations and photographs taken before closure. Keep these with the maintenance record. That record allows a replacement to be planned around the finished ceiling rather than forcing the ceiling to be dismantled to discover what is above it.
An overhead coordination study
A pavilion plan adds a fan after the board layout is drawn. Revise support and electrical coordination before shifting a board joint merely to fit the trim ring.
Hypothetical planning example.
Technical context
ENERGY STAR directs fan installations to suitable listed fan support and manufacturer instructions. This does not establish that ceiling boards can carry a fan.
ENERGY STAR: Ceiling fan installation