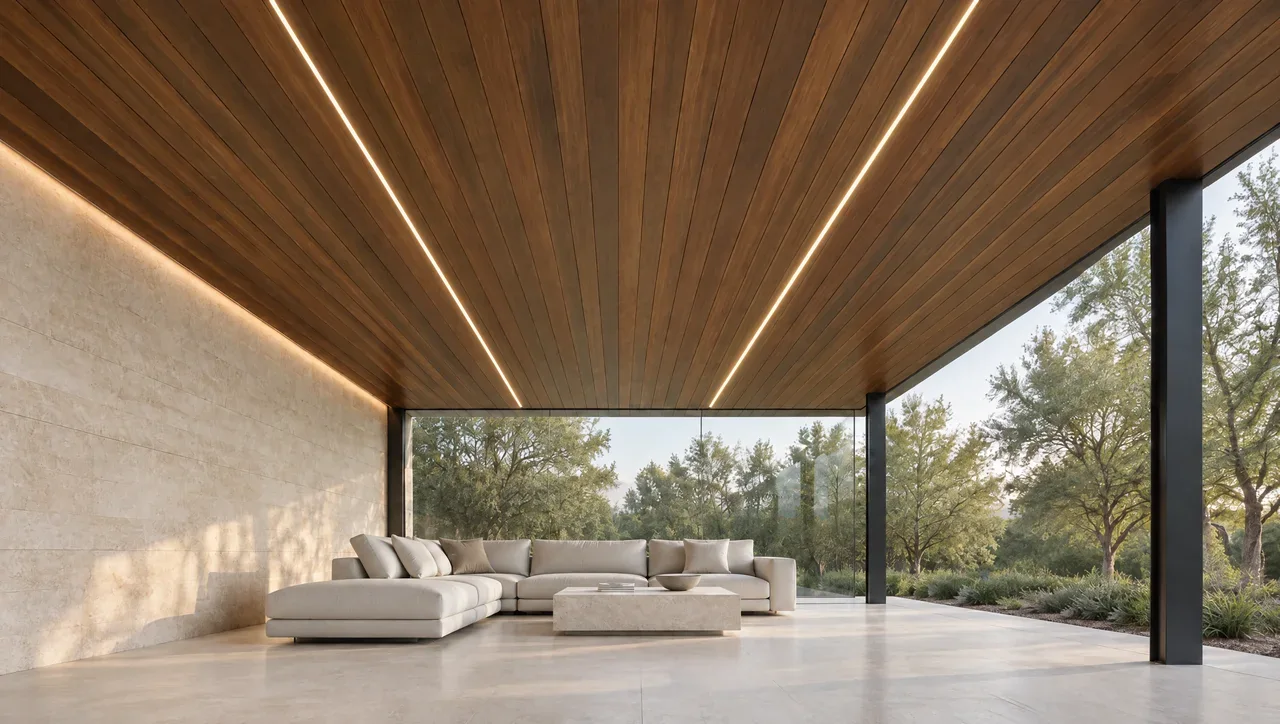
Draw the boundary
Mark the covered area and each open side on a plan. Add nearby sprinklers, pools, planting and transitions to walls. Distinguish observations from expectations: a photograph of a stain is an observation; wind-driven rain reaching the same point is a hypothesis until checked.
Ask an answerable question
Send the ceiling supplier the room geometry, orientation and descriptions of wetting. Ask whether the proposed profile, finish and attachment instructions cover those conditions. Keep the response with the specific product revision, not only an email saying “exterior use.”
A roof does not create an indoor environment
A covered porch ceiling can be protected from direct rain while remaining exposed to outdoor humidity, wind-driven rain and seasonal temperature changes. The center of the ceiling and its outer edge may experience different conditions. Describe those locations separately before selecting a board or finish.
Look beyond the roof outline. An open side facing prevailing weather, a gutter overflow, a roof-to-wall junction or a nearby sprinkler can introduce water where the ceiling was expected to stay dry. A ceiling below a balcony also depends on the water-management system above it. The visible wood should not be expected to correct a leak in that system.
Map exposure by ceiling zone
Divide the ceiling into areas that have a practical difference in exposure. This need not mean buying several products. It gives the supplier and designer a better description than “outdoor but covered” and helps establish where a sample or inspection should be concentrated.
| Ceiling zone | Observation to make | Selection question |
|---|---|---|
| Deep inside the porch | Humidity and enclosure conditions | Is the product approved for this unconditioned location? |
| Open perimeter | Wind-driven rain and sun reaching the edge | Are finish and edge details suitable for intermittent exposure? |
| Below an occupied balcony | Water-management and drainage details above | Can the overhead finish be removed for access? |
| Near roof or wall transitions | Staining, leakage history or concealed penetrations | Has the source of water been resolved? |
Keep observations distinct from conclusions. A stain identifies a place to investigate; it does not by itself identify a leak source or prove that the wood is decayed. Photograph its location and check the related roof or wall detail before specifying a cosmetic treatment.
Select for the location, then the appearance
Obtain the product's permitted applications, preparation requirements and finish instructions for the proposed exposure. “Exterior wood” is too broad to settle an overhead application. Ask about the actual profile, supplied condition and attachment arrangement as well as the species.
Wood exchanges moisture with its surroundings, as described in the USDA Wood Handbook moisture chapter. A protected ceiling therefore still needs a movement-aware layout and suitable receiving conditions. This guide defines the ceiling exposure; it does not set a universal installation moisture percentage.
Use the exposure map when reviewing a finish sample and planning future access. A sample kept indoors will not show how the porch's light changes its appearance. View it overhead in the intended location, including at night with the proposed lighting. That simple step can prevent selecting a color that looks right on a table but too dark across the finished ceiling.
An overhead coordination study
A covered porch has a dry center and stains beside a planter. The useful next step is to map that location and investigate wetting before changing the entire finish specification.
Hypothetical planning example.
Technical context
USDA describes exterior finishing as a decision involving water, sunlight, appearance and wood–coating interaction. It does not approve a ceiling assembly.
USDA Forest Products Laboratory: Finishing Wood